Clipping Path for Vector Conversation:
cut-out way is a closed vector way which is used to expel some part of a photograph picture changing programming. After the way is associated, the yield will contain only the fragment of the photo inside. Anything outside the way will be ousted. For the most part slicing ways are required to prepare pictures for traces.
The most generally perceived endeavor is to remove the establishment from a photo and join whatever remains of the portion of the principal picture with another. Segment ways are secured in Adobe picture resource ruins in TIFF, JPEG, and PSD picture positions. While performing geometrical raster changes on pictures Graphics Mill can apply a comparative plan of changes on cut-out way data. This empowers you to keep the vector routes synchronized with the raster data. Cut-out way is the principal factor for vector discussion. In the wake of perusing this article, you can understand why require
Repeating the Clipping Path
If you need to change a photo to another course of action, say JPEG to TIFF. Would lean toward not to lose its cut-out way data you can basically copy it. There are two ways to deal with a copy the segment way data:
Utilizing a photo creator. You isolate metadata from an Image Reader dissent. Save it to an Image Writer case using the pipeline API. The case for this procedure is shown on the second piece.
Utilizing picture settings. You can make a Writer Settings case, put Adobe picture resource pieces containing a cut-out path in it, and pass the inquiry the Bitmap. Spare technique.
Preface to Raster record and Vector File:
Raster picture and vector picture are extremely two varieties of picture arrange. Raster records or bitmaps utilize pixels to make a photo. While Vector picture reports rely upon approaches to make a photo. Since ways are numerically based, these archives don't distort upon re-evaluating and are ideal for content and diverse pictures in which precision is fundamental. If you have a bitmap picture. It is possible to transform it into a vector picture with Adobe Illustrator.
What to Do with Vector Conversion:
We should consider your association logo. You will use the logo for countless. It can be for printing or for use on the web. All over you require it 250px x 250px and all over you require it 1000px x 1000px. In case you will use raster picture, consequently. Your logo will pulverize in light of the fact that. When you are going to re-gauge you logo from 250×250 to 1000×1000 if will be burred. For this circumstance, Vector picture is a complete game plan. Essentially make a single vector version of your logo and re-appraise it whatever size you require. Without a doubt, even vector record ensures the best quality when will use it for printing.
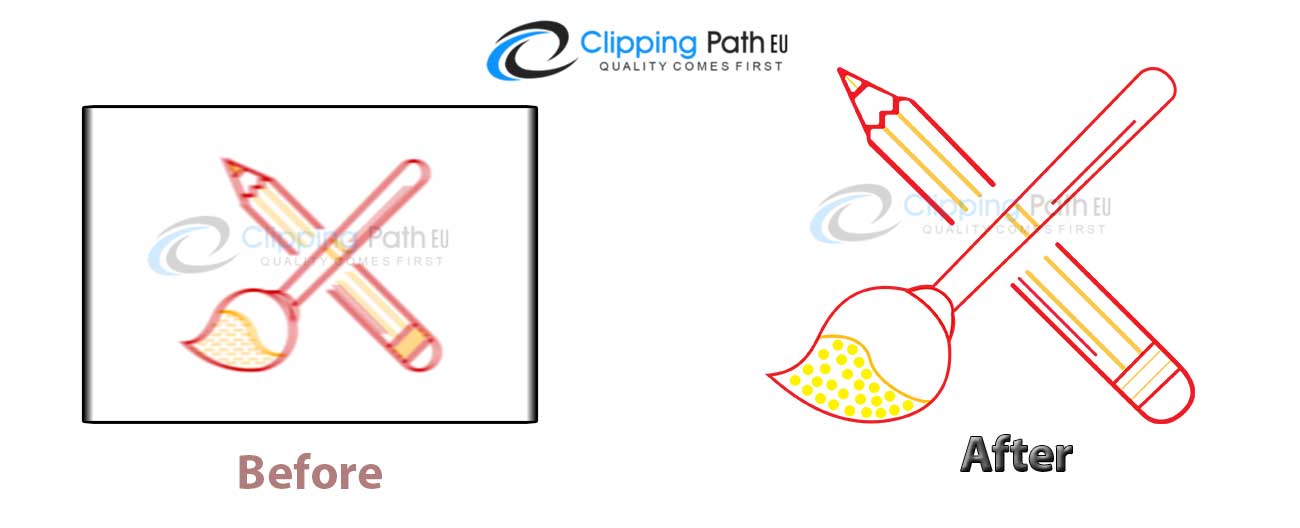
The best technique to Do Raster to Vector Conversion:
Vector change, or changing over Raster pictures to Vector pictures. Ought to be conceivable using the going with propels.
Stage one:
Select the photo that you have to change over. Draw a path around each dissent. Use the 'Charm Wand Tool' at in any case, which can be browsed the essential toolbar. If the photo you have to change over isn't to a great degree complex. For instance, the photo of a cricket bat, Magic Wand gadget will have the ability to viably perceive the edges of the dissent and draw a correct path around it. If this doesn't work, by then. You can pick 'Alluring Lasso Tool' or 'Limited Tool'. From the toolbar and take after the edges of the inquiry until the point that the moment that it is totally encased in lines. This mechanical assembly will snap to the edges of the inquiry, accordingly giving a to a great degree correct after.
Stage two:
When you have influenced a required shape for the dissent you to can apply any shading or edge or effect into the decision to impact vector to record. Remember, you have to impact particular assurance for applying assorted to shading. You can in like manner make it 3D by applying capable incline.
Stage Three:
Spare the archive, which will be saved as an Adobe Illustrator vector record.
Stage Four:
Amend the photo if it isn't as correct as you require it to be. There will no doubt be two or three locales en route that has been made that doesn't look as smooth as the primary picture. This occurs at times in raster to vector change advantage by our gathering or vector change work by your own. You can without quite a bit of an extend settle the record by opening it in Adobe Illustrator to make it undefined to the ace archive. Following these five phases should ensure that you can finish Raster to Vector change. Segment Mask Asia has an unprecedented gathering who can give you raster to vector change advantage at whatever point with the most forceful rate.
Check out our most related article on Clipping Path EU